Hey Techies
Let’s understand the step by step process of Acuity integration with Zapier.
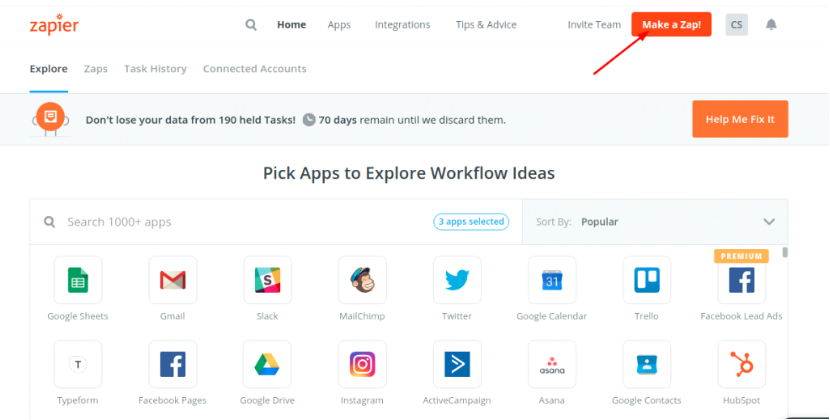
STEP 1: Login to your Zapier account:
1. Log in to your Zapier account.
2. Click the “make a zap” button.
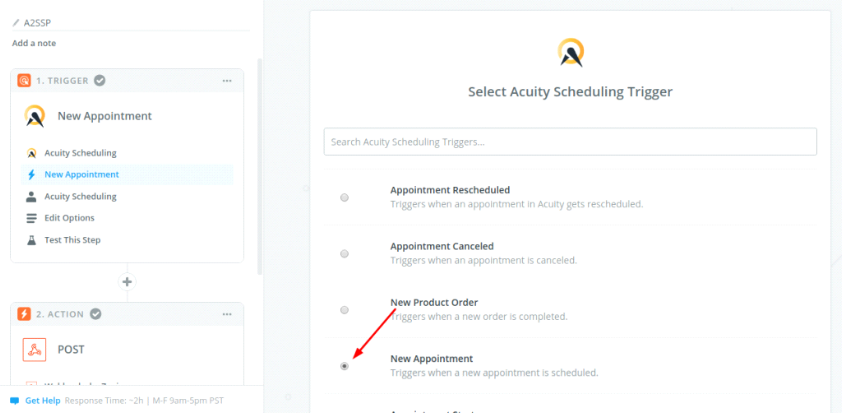
STEP 2: Select Acuity scheduling as trigger App:
1. For the trigger select Acuity.
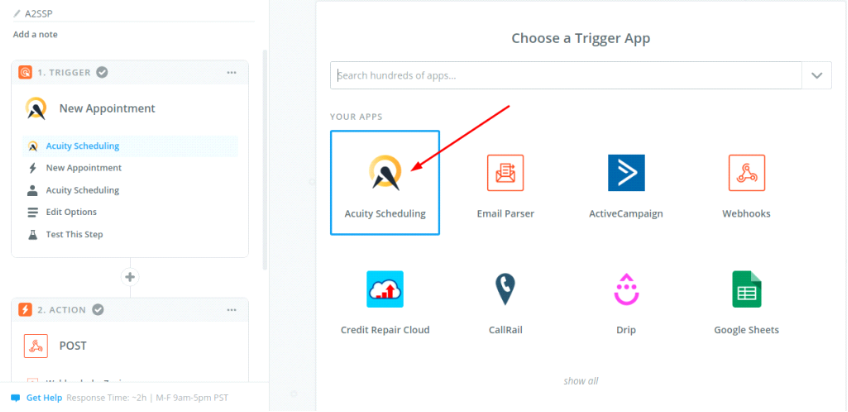
STEP 3: Choose any trigger (e.g New appointment):
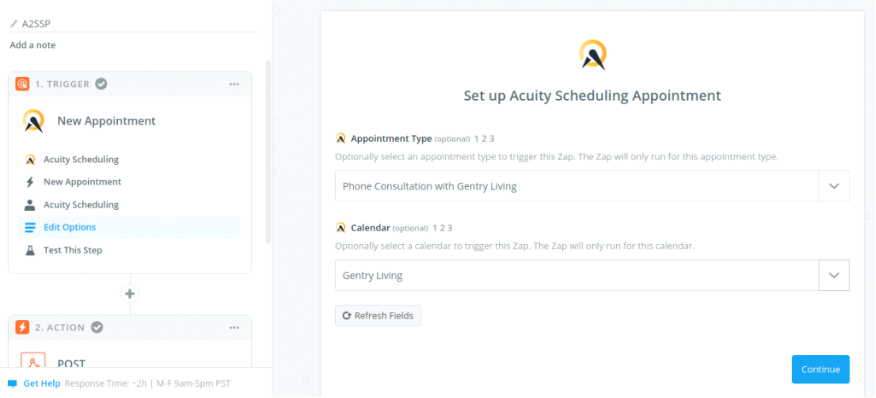
STEP 4: After connecting the account, set up the template:
1. Select the fields that you want to map here (e.g. list name)
2. After saving these settings the trigger part is complete.
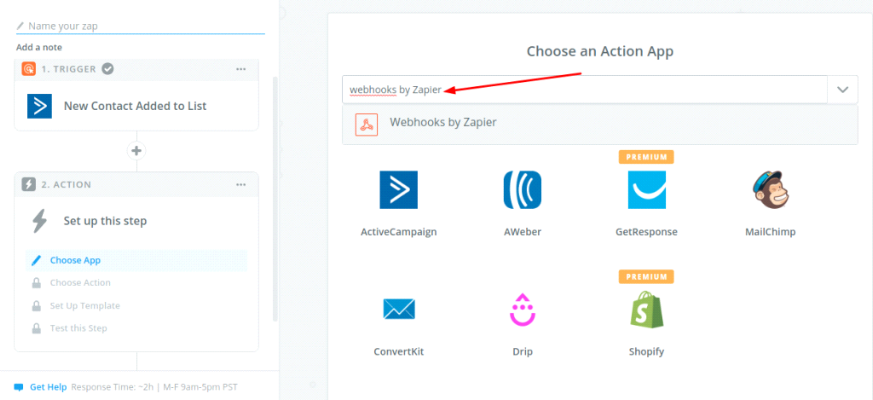
STEP 5: Configure an Action app for the Zap:
1. Select webhooks by Zapier as the action.
STEP 6: Choose Action:
1. Select POST from the radio button options and click “save and continue” button.

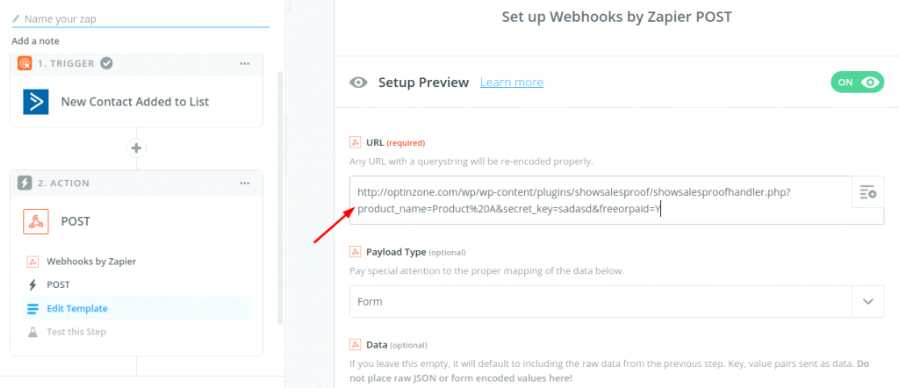
STEP 7: Set up Webhooks by Zapier POST:
1. Enter the webhook URL to which you want to send the webhook.
2. There is no need to configure anything else on this window.

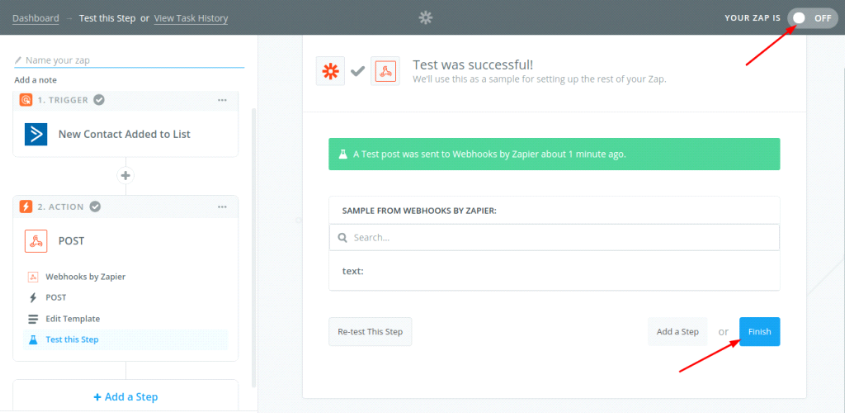
STEP 8: Test it by sending a test webhook:
1. If it is successful, you are good to go.
STEP 9: Click on finish and turn on the Zap:
1. Click on finish and also don’t forget to turn the Zap on.
2. It’s done.
STEP 10: Now create an appointment in Acuity, the webhook will get triggered automatically.
Found the article useful? Share it with your friends and co-workers… Now!
If you have any queries or doubts about this topic please feel free to contact us. We are here to help you!