Webform is a module for making forms and collecting information from users in Drupal. Using this, you can send a ‘thank you email’ to the users, after they submit their information and also, it enables you to send notifications to administrators.
Results can be exported to Excel or any other desired spreadsheet applications. Webform also provides some elemental statistical reviews. If you need to build a number of customized and unique forms, Webform is a better-suited solution than creating content types and using the Field modules.
Step-1) Download the Webform Module
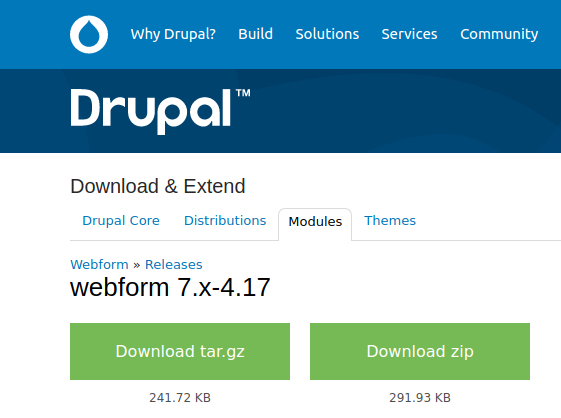
— Go to https://www.drupal.org/project/webform/releases and download the Webform module according to the version of Drupal you use.
Step-2) Install the Webform Modules
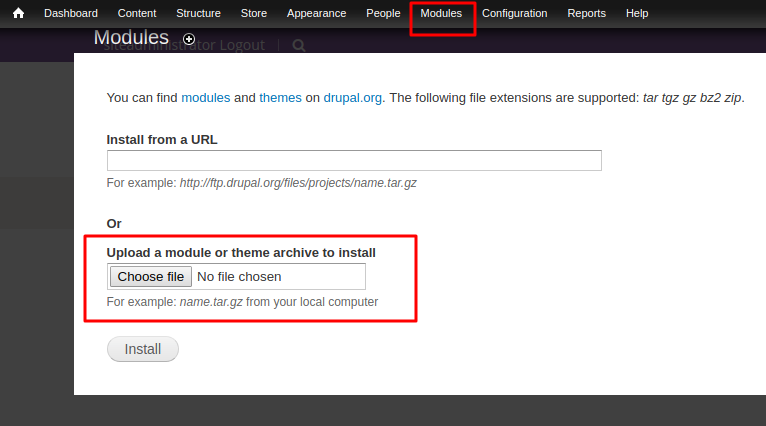
Step-3) Enable the Webform Modules from Module Section in Admin Panel
- Go to the Modules and enable the Webform module.
- Click the checkbox of the Webform module.
- Save configuration.

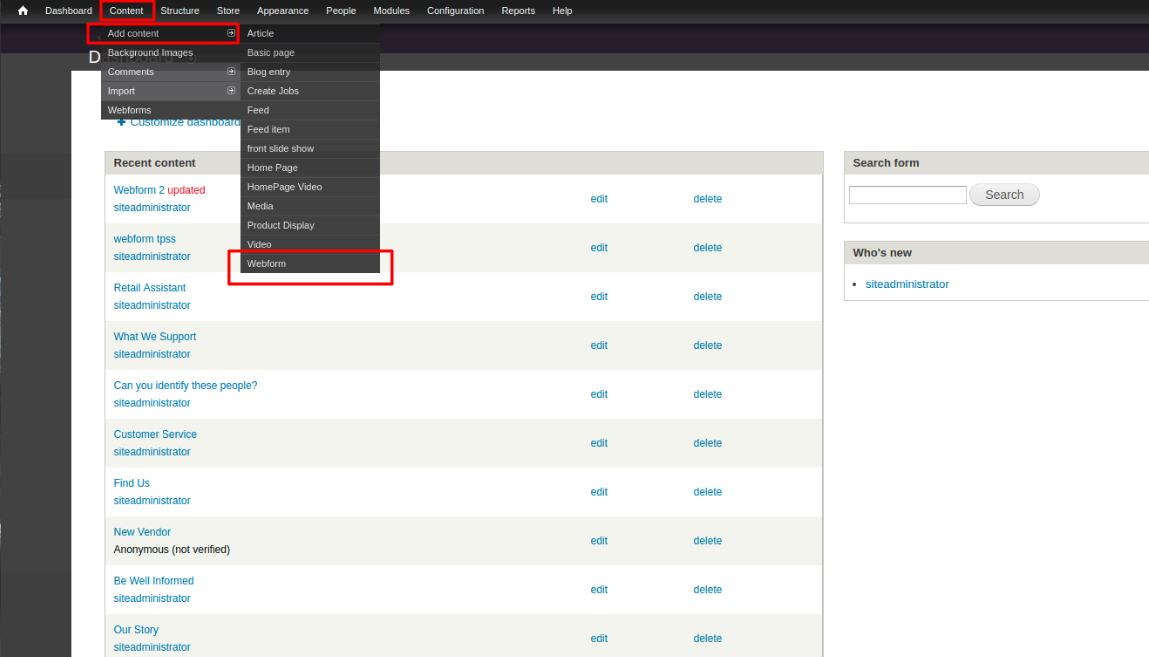
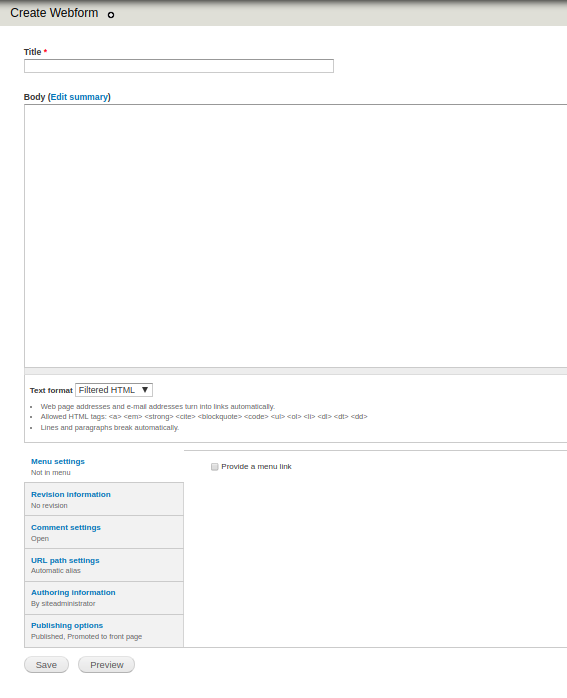
Step-4) Create a form using Webform Module
Admin > Content > Add Content >Webform
——————————————————————————————————————————————————-
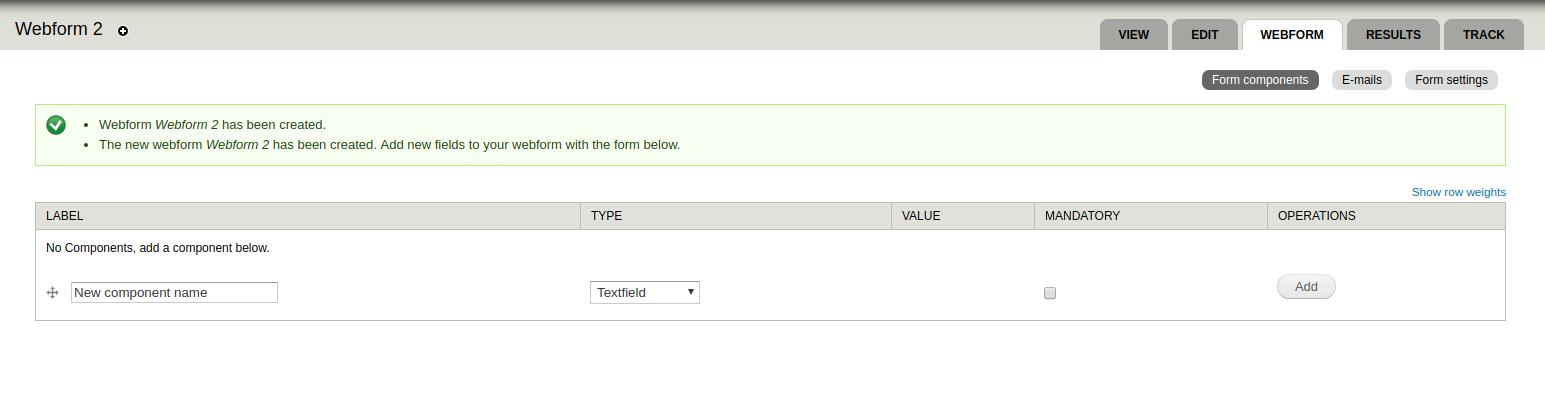
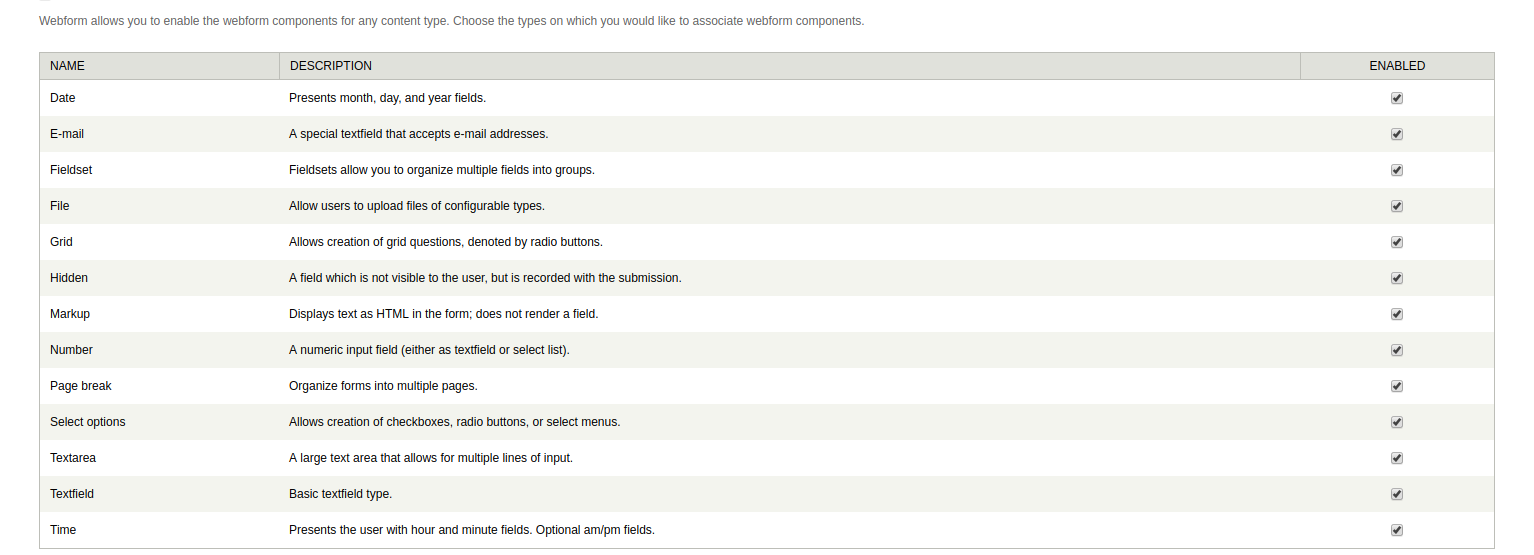
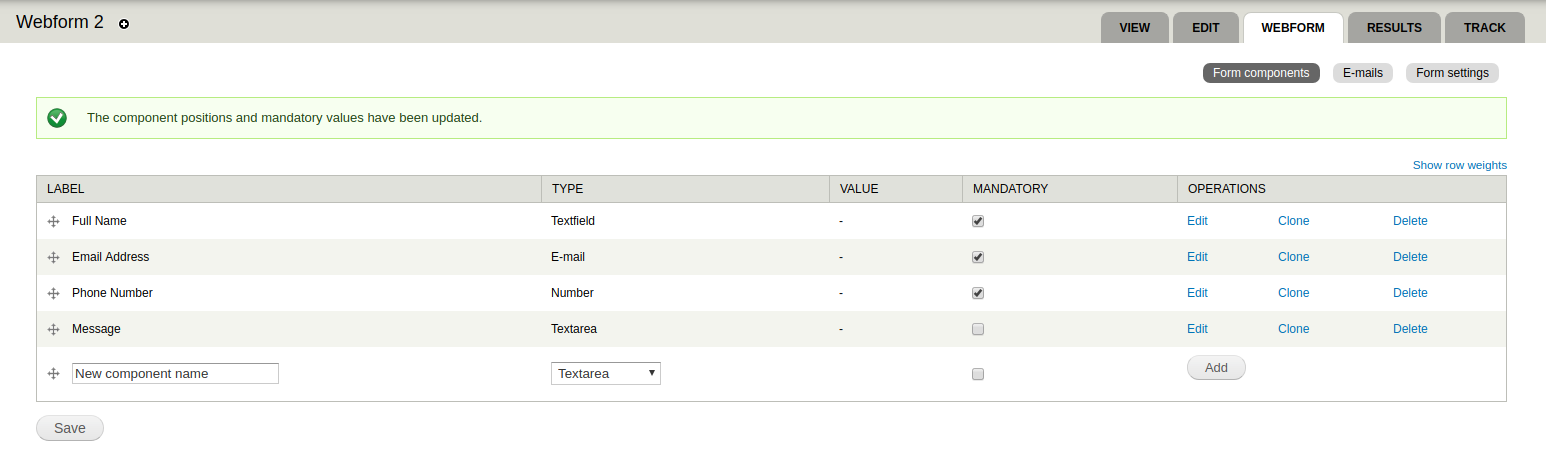
Step-5) Create form fields
Choose the types with which you would like to associate Webform components:
After creating the form (Form name is Webform 2), Create custom fields for this form
WEBFORM > E-mails
Email setting for this form: You just need to set the email address to receive an email when the form is submitted. If you wish, you can add multiple e-mail addresses.

WEBFORM > Form Settings
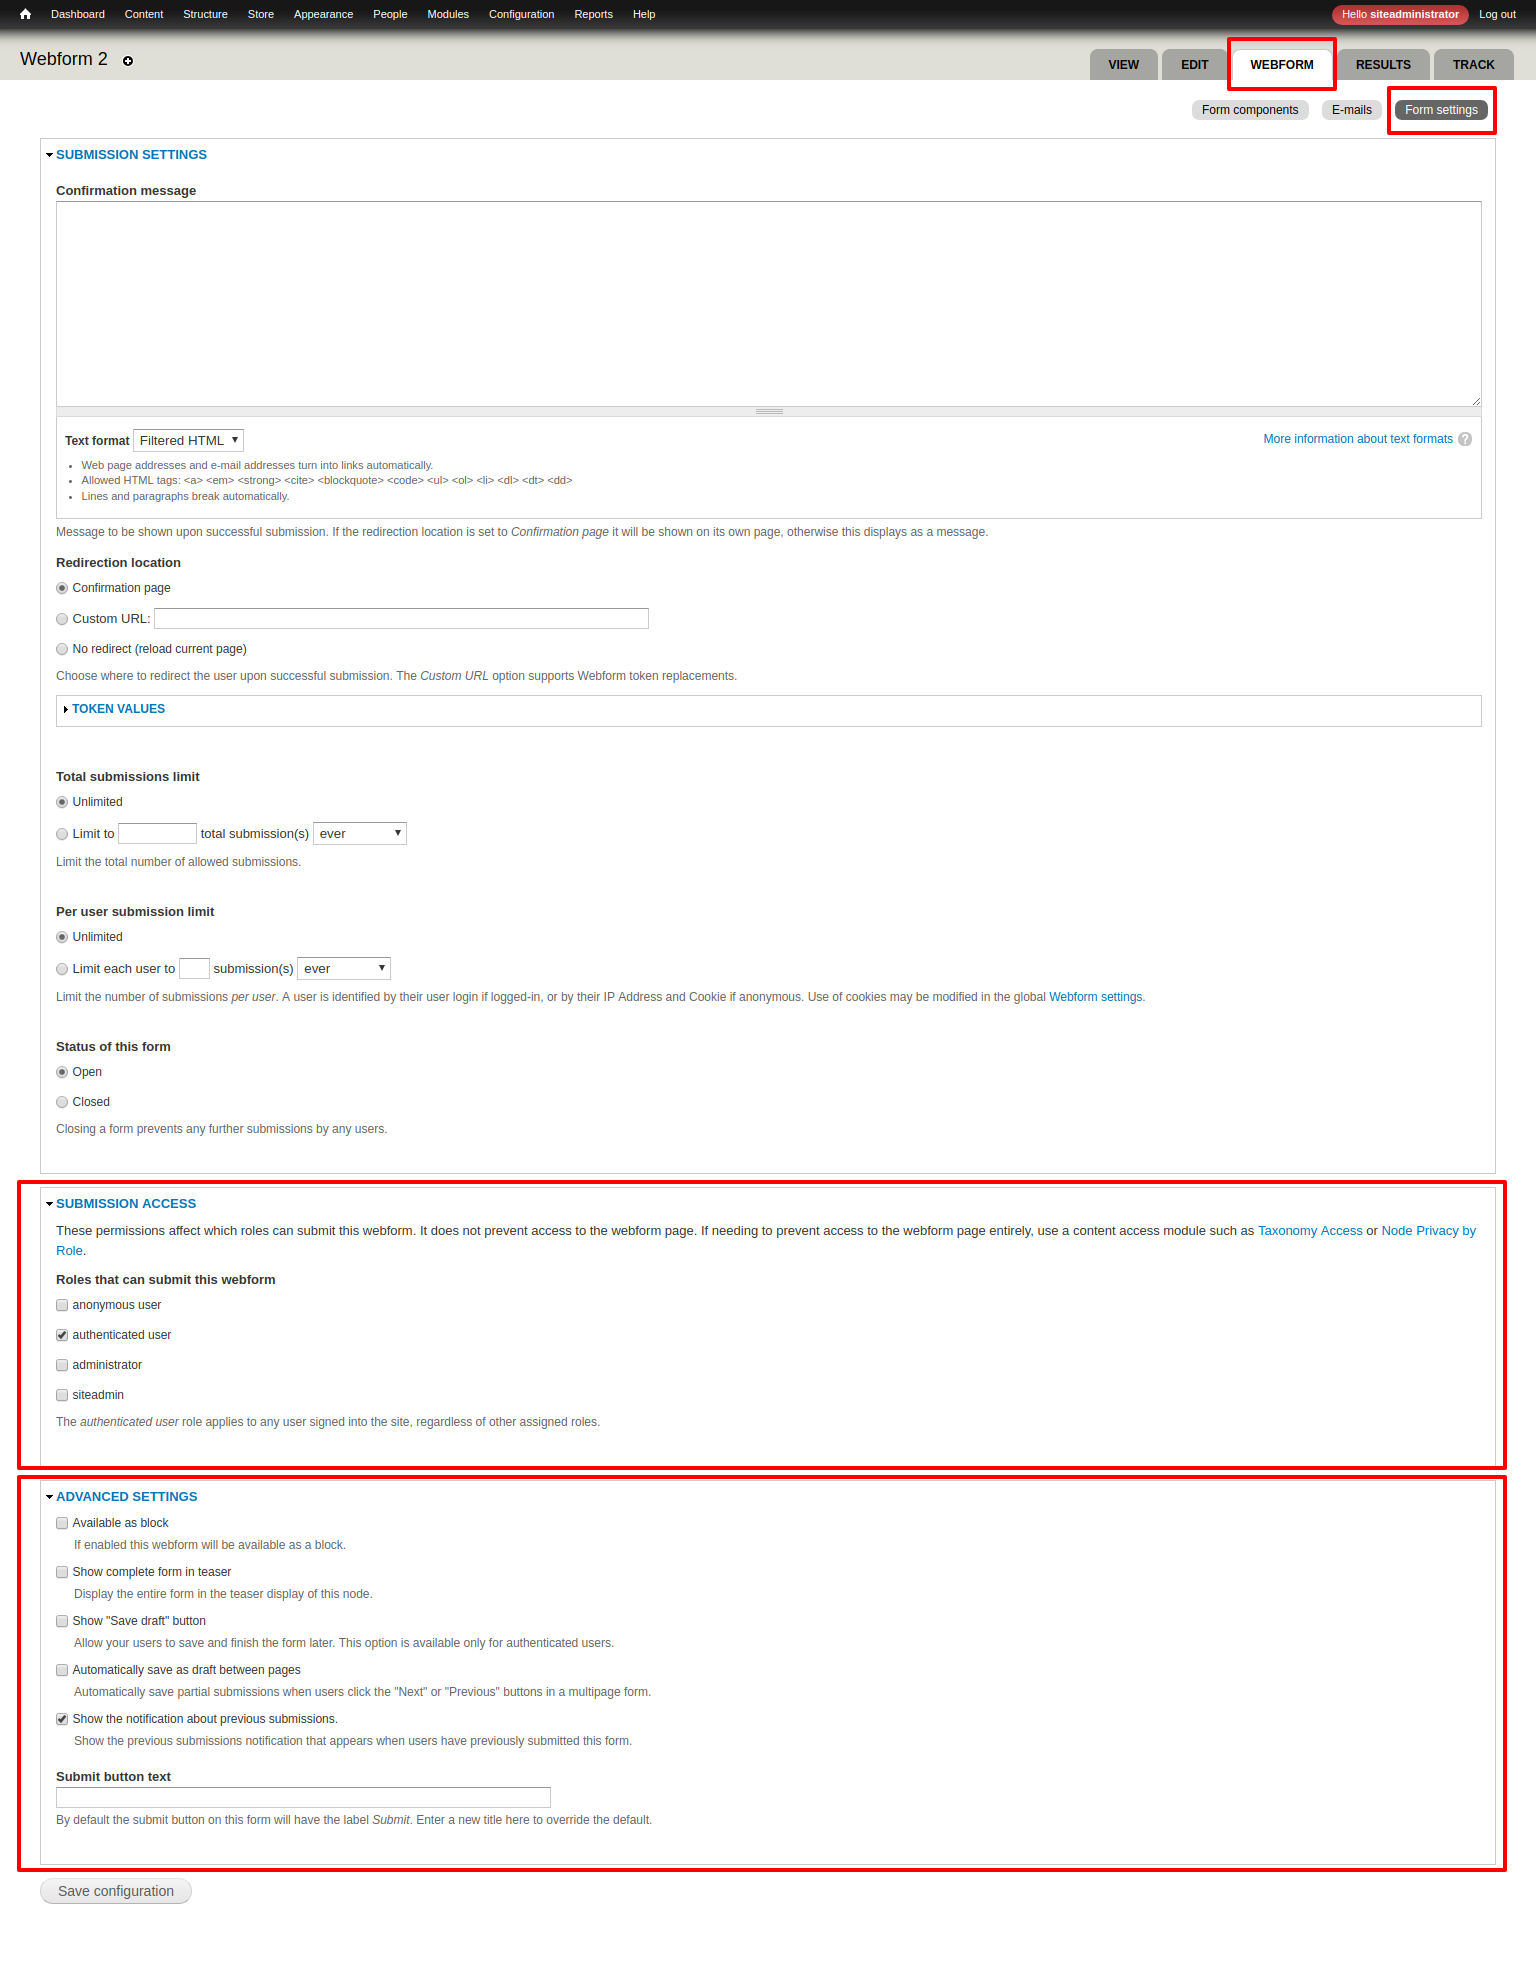
Submission Access
- You can control the submission rights in this Webform from the admin panel.
Advanced Settings
- You can manage advanced settings according to your requirements.
Step-6) Check your WebForm
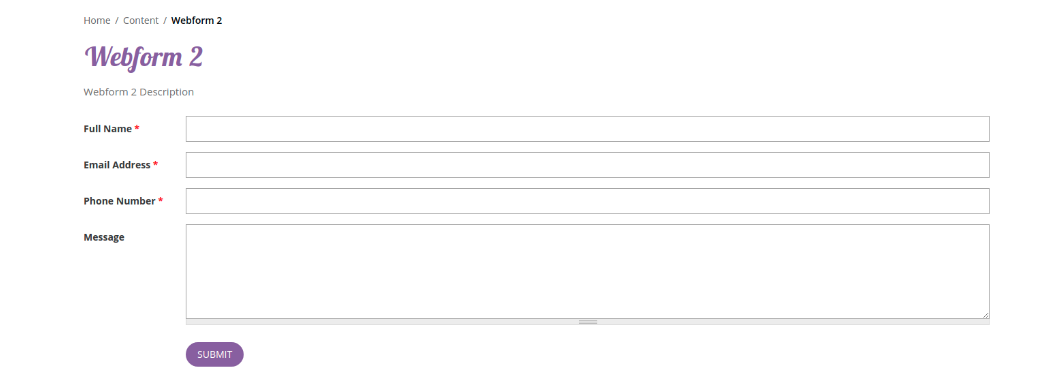
Step-7) Test your Form
- Now publish your form exactly the way you would publish any other content item on your site.
- Log out of your site.
- Fill in your Web form as an anonymous user.
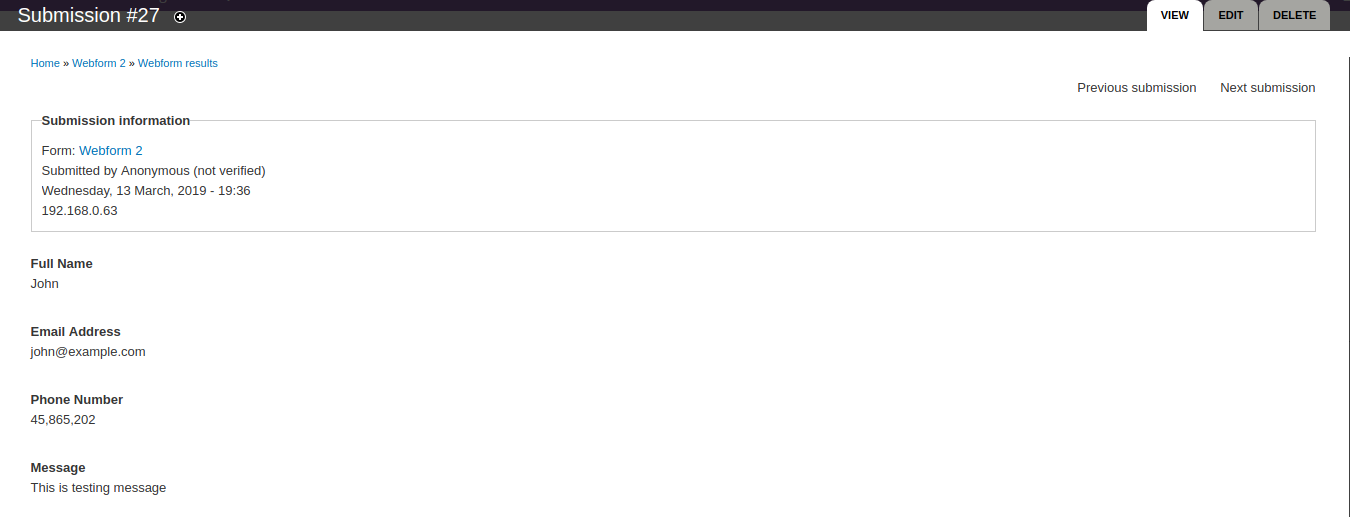
- Now login into your website again.
- Click on the Results tab.

- On the next screen, click the view link.
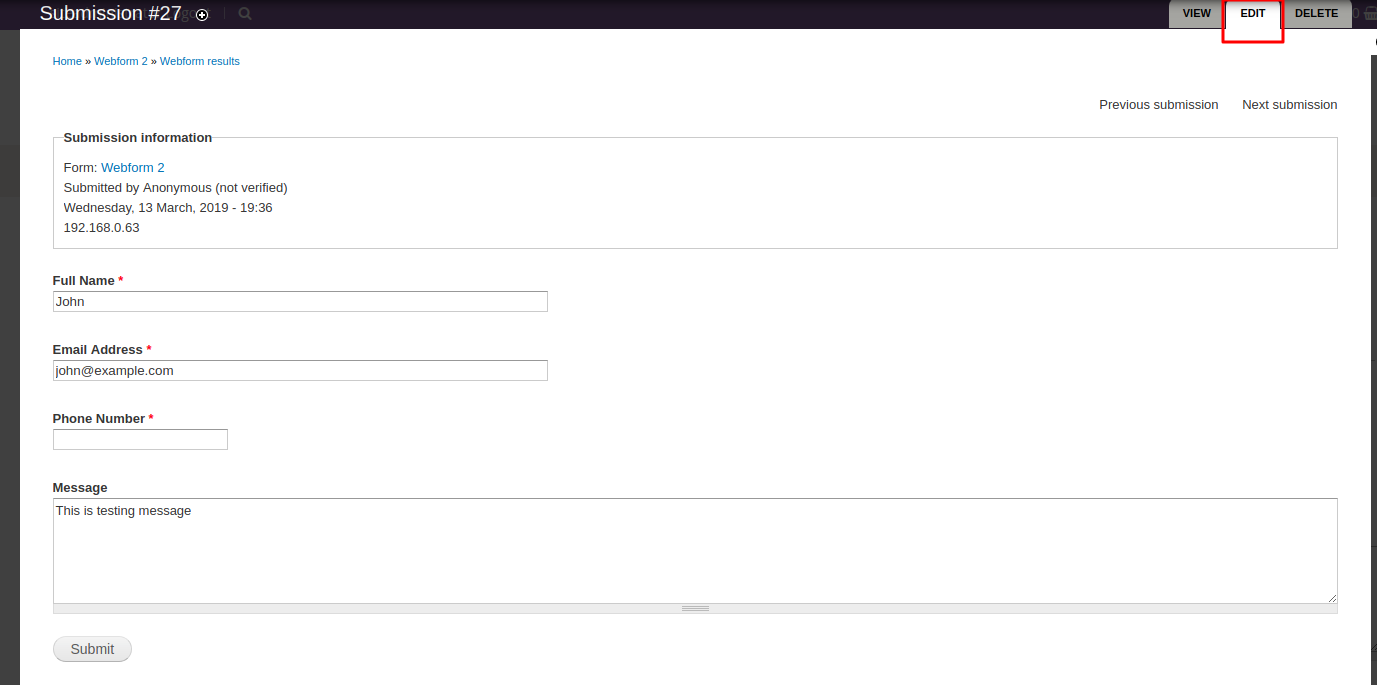
- On the next screen, click the Edit tab.
- Click on the “Track” tab.
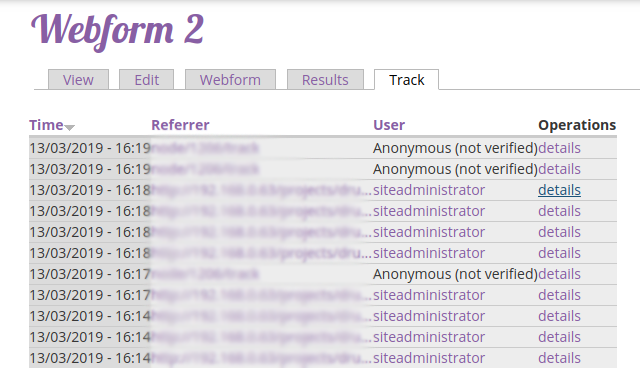
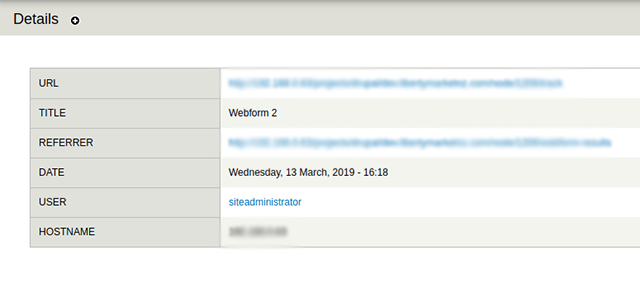
- On the next screen, click the “details” link.
Feel free to seek any further clarification!
Share it with your friends if you like it!
Cheers!