In CodeIgniter, migrations are used to create and maintain databases programmatically.
Migrations are written in PHP code. The framework will translate the code into SQL statements.
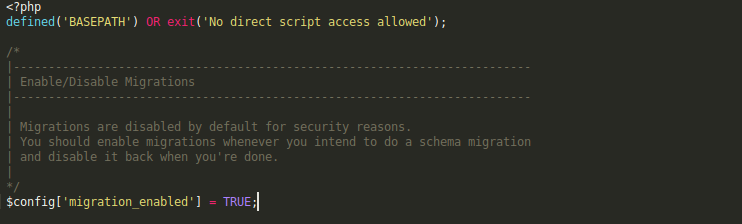
By default, migrations are disabled.
You can enable/disable migrations from migration.php file located in application/config directory
Each Migration is run in numeric order forward or backward depending on the method taken. Two numbering styles are available:
Sequential: Must be three digits, and there must not be any gaps in the sequence.
Sequential migration naming (001_table_name.php)
Timestamp: Use timestamp format YYYYMMDDHHIISS.
Timestamp migration naming (20121031104401_table_name .php)
The desired style may be selected using the $config[‘migration_type’] setting in your application/config/migration.php file.
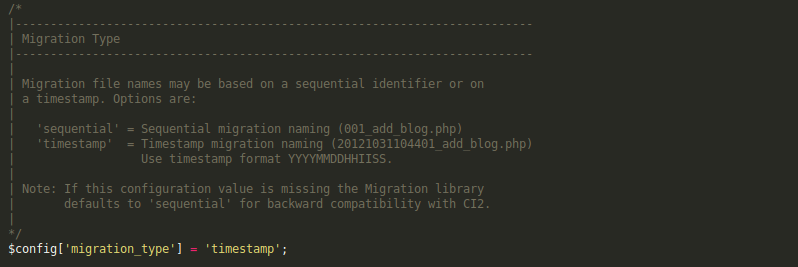
We are using the Timestamp style in this article.
Create migration
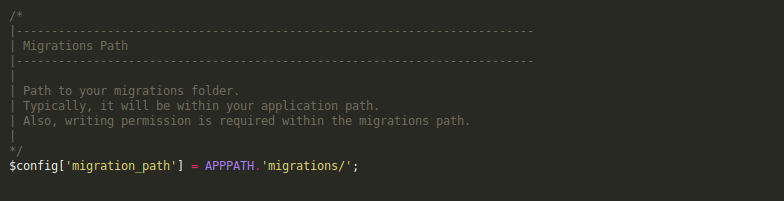
Default migrations go in the application/migrations directory & you can change migration path from application/config/migration.php file.
Create a migration file in application/migrations directory name such as 20200113085136_blog.php and paste the following code:
<?php defined('BASEPATH') OR exit('No direct script access allowed');
class Migration_Blog extends CI_Migration {
    public function up() {
            $this->dbforge->add_field(array(
            'id' => array(
                    'type' => 'INT',
                    'constraint' => 5,
                    'unsigned' => TRUE,
                    'auto_increment' => TRUE
            ),
            'name' => array(
                    'type' => 'VARCHAR',
                    'constraint' => '100'
            ),
            'description' => array(
                    'type' => 'TEXT',
                    'null' => TRUE
            ),
        ));
        $this->dbforge->add_key('id', TRUE);
        $this->dbforge->create_table('blog');
    }

    public function down()
    {
        $this->dbforge->drop_table('blog');
    }
}
After that, create a controller file in application/controllers/Migrate.php directory to update the database schema and paste the following code:
<?php defined('BASEPATH') OR exit('No direct script access allowed');
class Migrate extends CI_Controller {
    public function index() {
        $this->load->library('migration');
        if ($this->migration->current() === FALSE)
        {
            echo $this->migration->error_string();
        }else{
            echo "Table Migrated Successfully.";
        }
    }

}
Before running migrations, you need to set the database connection.
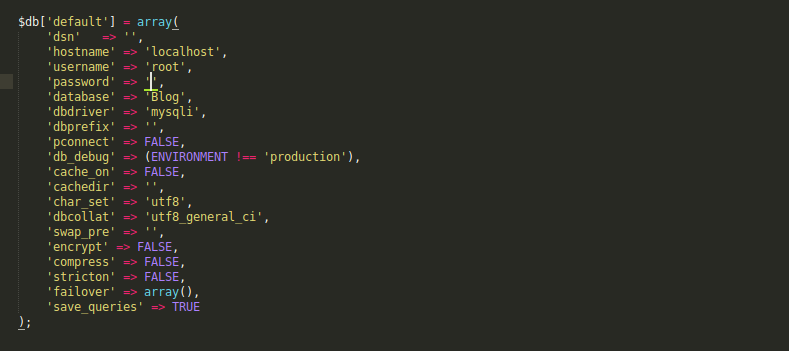
Database Configuration
CodeIgniter database configuration file is located at application/config/database.php.
Set database connection values username, password, database name, etc.
Now you need to set migration version in application/config/migration.php which you want to migrate.
Now execute migrate controller application/controllers/Migrate.php
http://localhost/blog/index.php/migrate
OR
Using the terminal run command in your project root directory:
php index.php migrate
Share this article with your friends if you find it useful!
Cheers!
If you have any queries or doubts about this topic, please feel free to contact us. We are here to help you!