Setup Social Platform ‘PixelPhoto’
Pixelphoto is a photo sharing script that has a PHP codebase and implemented with object-oriented programming concepts and it’s one of the most convenient ways to start your own photo-sharing website. It supports both Android and IOS along with the web.
Requirements:
Before you start with the installation, please make sure you have the following installed on your server:
- PHP 5.5 +
- MySQLi Extension
- GD Library
- Mbstring
- cURL
- ZIP
- allow_url_fopen
How to setup PixelPhoto on Server:
Step 1:
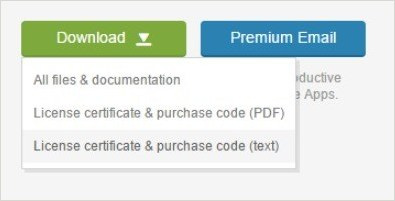
First of all, you need to purchase PixelPhoto from here, if you don’t have one already. You may go for a regular or extended license as per your requirement. After making the purchase, obtain the purchase code from your Envato account.
Step 2:
Upload all files/folders located inside “Script” folder on your server as shown below:
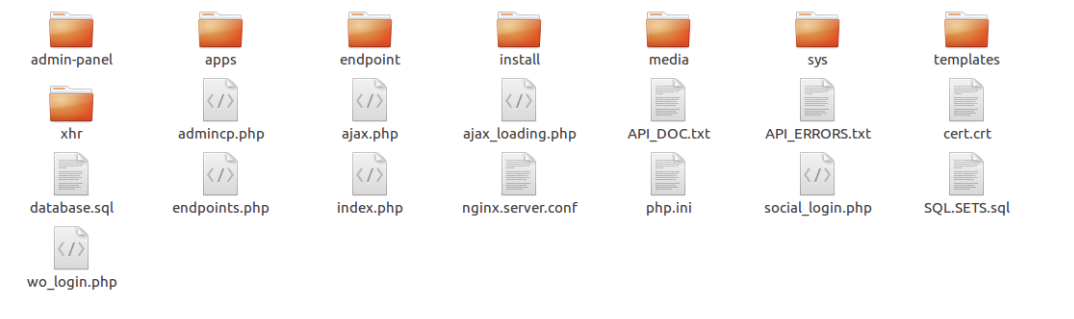
Open your browser and go to http://www.sitename.com/install.
Step 3:
The installation will happen in four stages, you just need to follow the instructions and furnish the relevant details. Once you are done with filling all the details, the “Install” button will appear and you need to click the same.
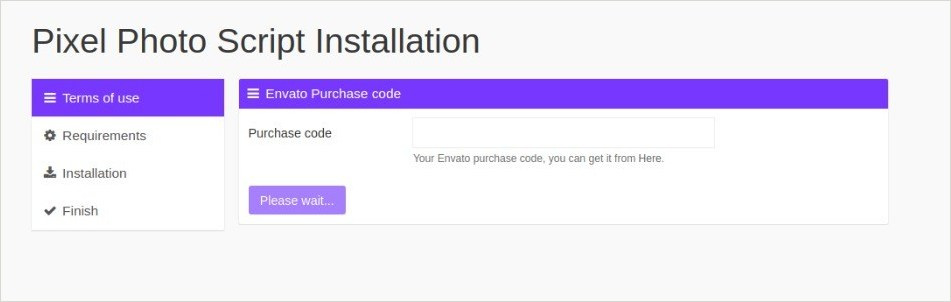
![]()
Note: After installation, please make sure that you delete the “install” folder and you are good to go.
Step 4:
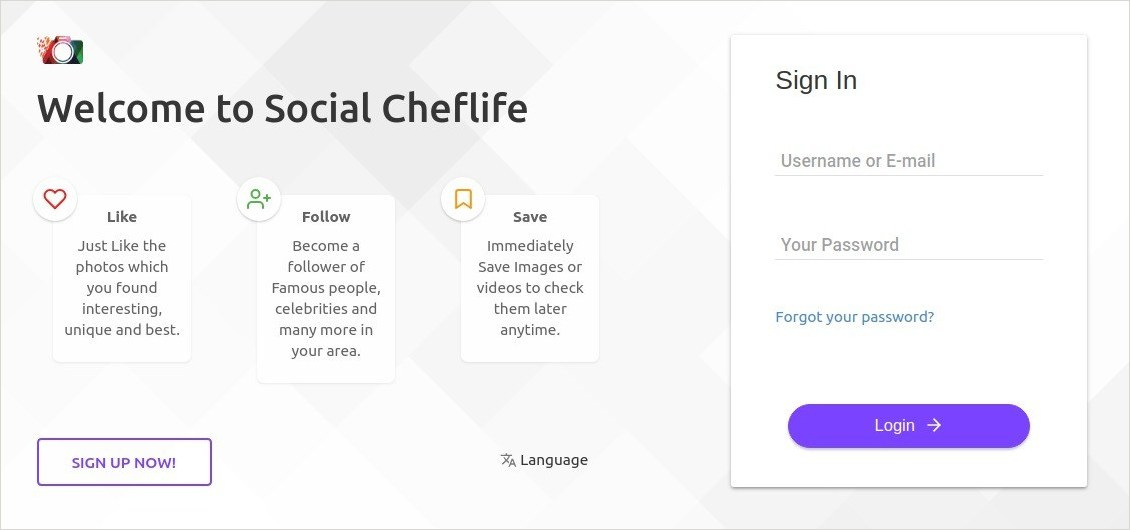
You’ll be redirected to the login page as soon as the installation gets done.
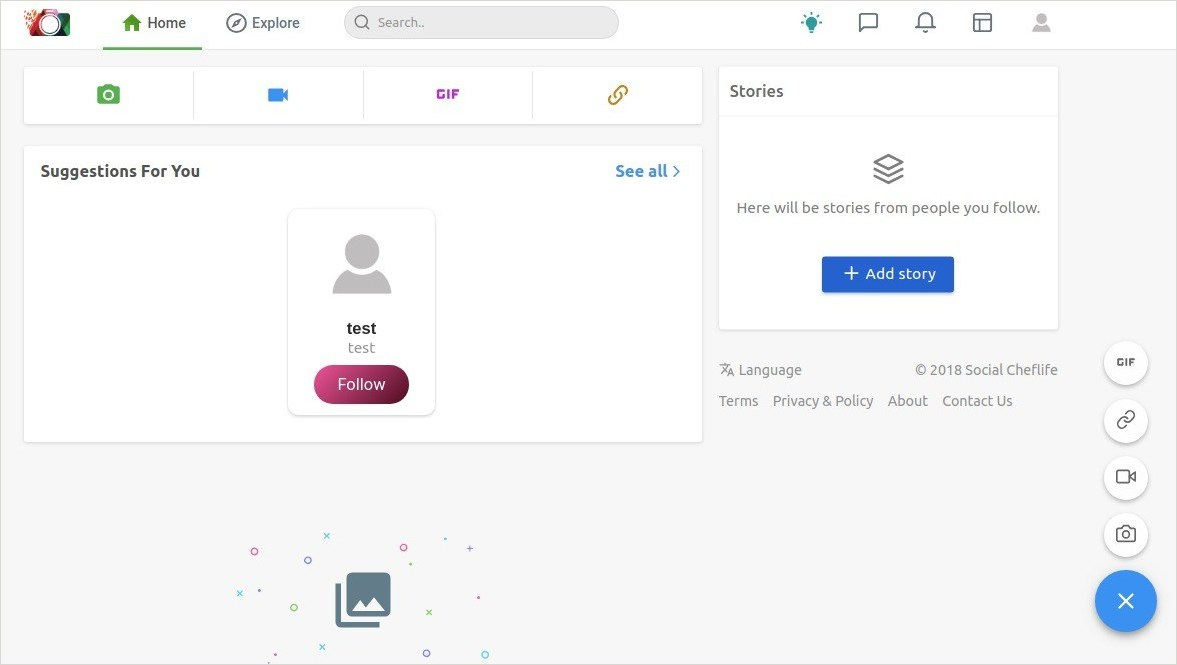
Once you log in, PixelPhoto homepage will appear on your screen. It is fast and secure with the capability to handle huge amounts of data in the form of pictures and videos.
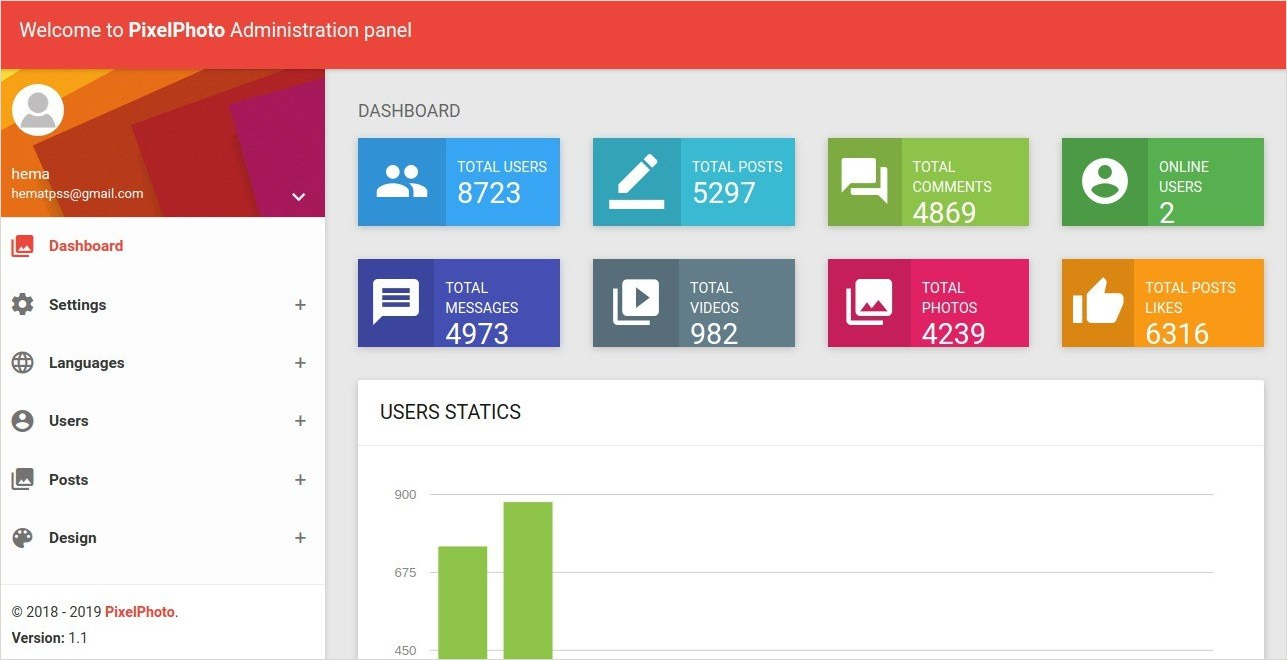
To access the admin panel, visit http://www.sitename.com/admin-panel. From the dashboard, admin can manage all settings and design.
Do share this article with your friends/co-workers if you find it helpful!
If you have any queries or doubts about this topic please feel free to contact us. We are here to help you!