MailChimp with WordPress makes an amazing combination for marketing purposes. It enables you to stay in touch with your subscribers, clients and helps in growing your business faster.
In this article, we will only focus on how to start the RSS campaign automatically. I believe that you already have a basic idea about MailChimp, its account and list of subscribers set up. If not, you can refer to this link and also create an account here.
Here, I will explain the step by step process, so that you can follow it in a convenient manner. First, you need to log into your MailChimp account and follow the steps to configure ‘RSS to Email’ Campaign.
1) Create a new MailChimp Campaign
2) Set Up RSS feed and RSS Timing
3) Select Email Template Design
4) Design the template and manage content block
5) Confirm and start RSS
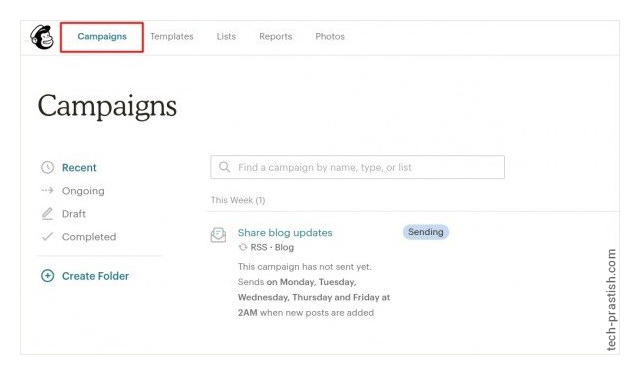
Create a new MailChimp Campaign
Sign in to MailChimp account and click the ‘Campaign’ option on the top left corner of the dashboard. Then go to ‘Create Campaign’ to generate a new Campaign.

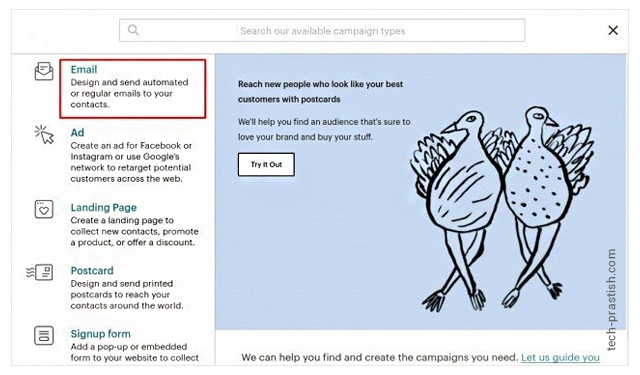
In the next screen, choose the option ‘Email’.
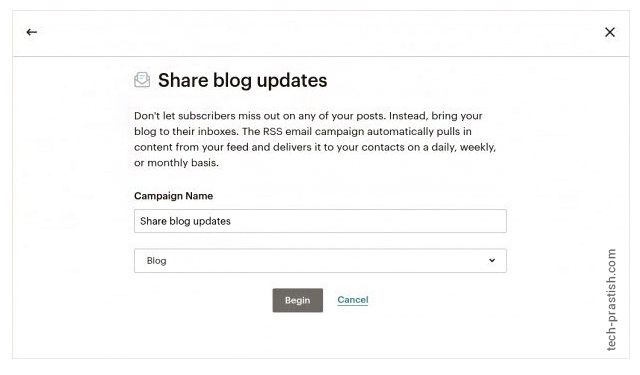
Now, you will see the screen as mentioned below. Choose the ‘automated’ option then select the ‘Share blog update’ option from there.
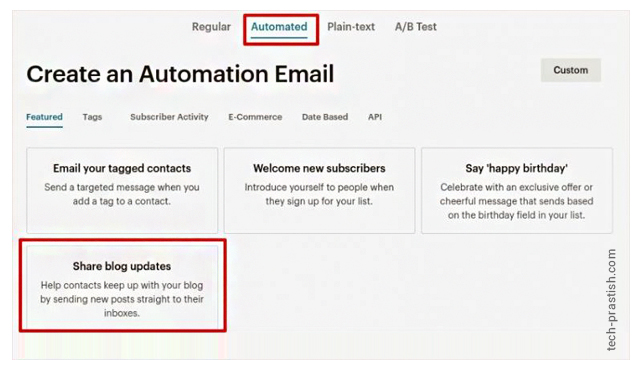
Enter the name of Campaign and Select subscriber listening name and click on the ‘Begin’ button.
Setting Up RSS feed and RSS Timing
From the next screen, select RSS Feed and RSS timing. No worries if you don’t know your RSS feed URL, you may simply enter your website Url, and MailChimp will find the feed for you.
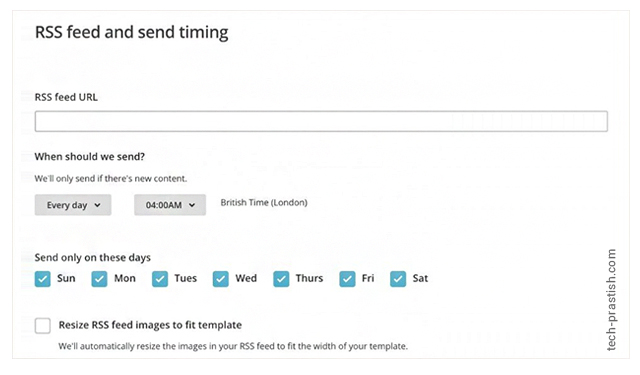
a) Check your RSS feed Url and enter the Url in the first field.
b) Choose a time interval to send the email, daily, weekly, or monthly.
c) Select ‘timing’ as per the day and select specific days.
d) Its recommended ‘to enable’ ‘Resize RSS feed images to fit a template‘. It will resize the image so that it easily fits in the email template.
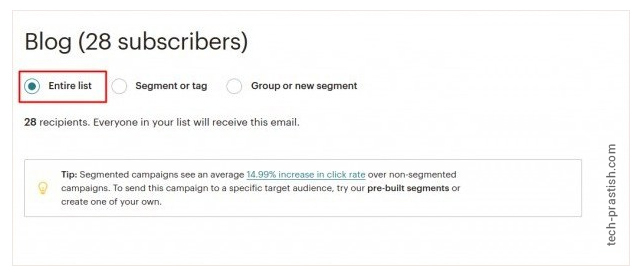
Next, you may select the ‘Entire list’ to share the email with every subscriber of a particular selected list.
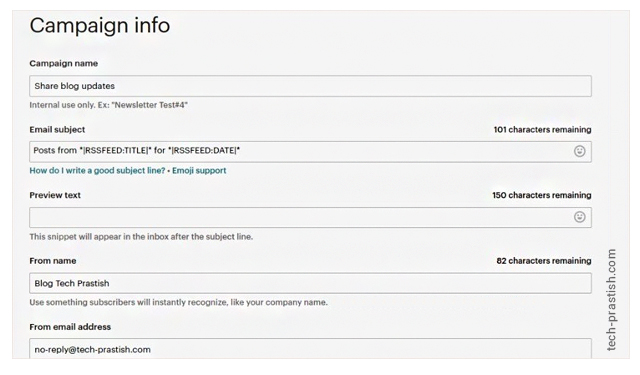
Here is some information related to Campaign name, email, and subject. After filling the information, move to the next step.
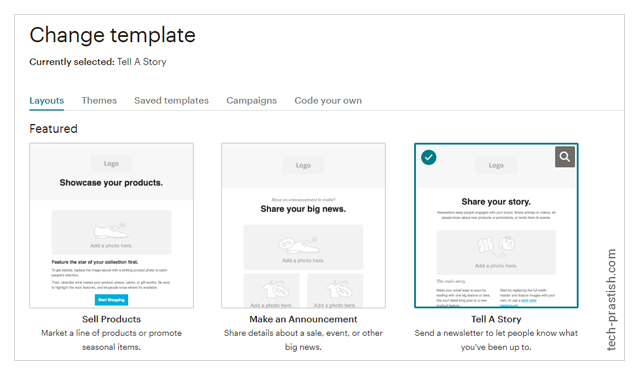
Campaign Template Design
Here, you will see the template options and you may select the template for your campaign. After selecting a template, you will move to the Designing step of your email campaign.
Design template and manage content block
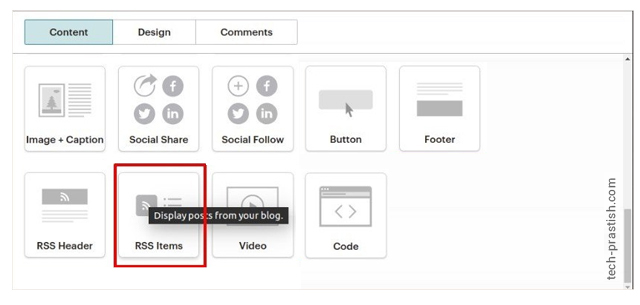
Once you select template layout, you can set content in the ‘header footer’. Drag and drop the item called ‘RSS items’ into the main content area. It will automatically get the RSS feed from your RSS Feed URL and display in the content area.
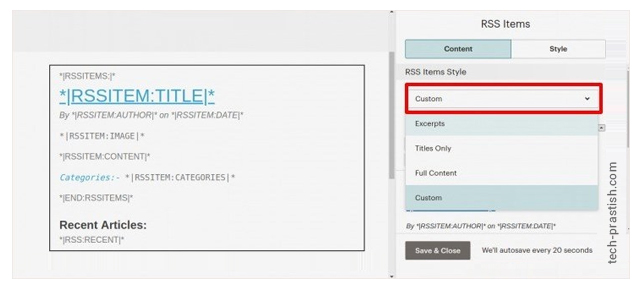
Let’s have a look at few more options for your content in the email template. Custom option will allow you to place content as per your wish. View RSS merge tags to see how the blog content appears when you create RSS campaigns.
Testing: After managing all the content, click on the “Preview and Test” button to have a look at the preview of the email campaign template.
Confirm and Start RSS
Once you are done with the configuration, click the “Start RSS” button and it will display screen with ‘DONE and DONE’. It means you’ve successfully set up a ‘MailChimp RSS Campaign’.

After completion of all the steps and starting RSS, you can change any details at any point of time by stopping and editing the campaign.
Found the article useful? Share it with your friends and co-workers… Now!
Thank you!
If you have any queries or doubts about this topic please feel free to contact us. We are here to help you!